Table of Contents
Ever felt overwhelmed trying to set up streaming equipment? You’re not alone. Many people struggle with getting their IPTV encoder working properly. The good news? It doesn’t have to be complicated.
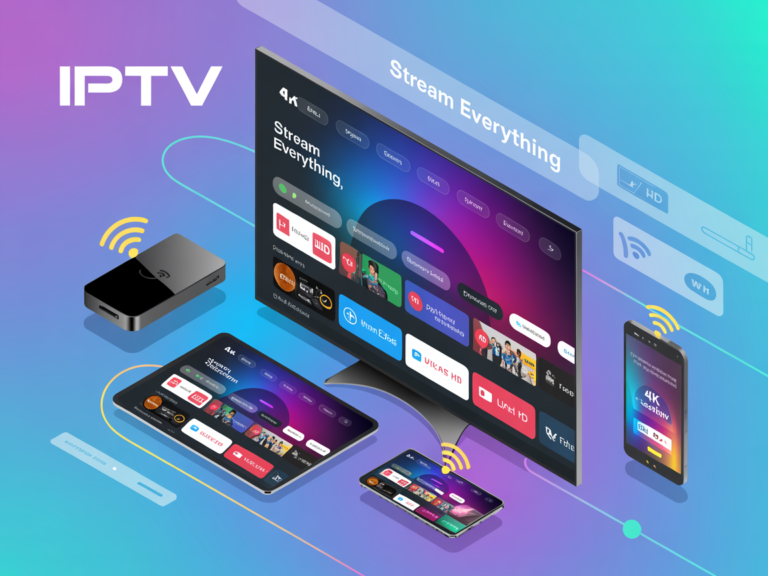
An IPTV encoder is a device or software that converts your video content into a format that can stream over the internet. Think of it as a translator between your camera or video source and your audience online. Whether you’re looking for an 📡 IPTV плейлист encoder HDMI device or planning an IPTV encoder download for software, this guide has you covered.
In just 5 simple steps, you’ll learn how to set up your encoder like a pro. You’ll get professional streaming quality without the headache, save money by doing it yourself, and start broadcasting faster than you thought possible. Let’s dive in!
What is an IPTV Encoder?
An 📡 IPTV плейлист encoder is your gateway to professional streaming. It takes video signals from cameras, computers, or other sources and converts them into digital streams that travel across the internet to your viewers.
Here’s how it works: Your encoder captures raw video, compresses it into a smaller file size, and packages it in a format that streaming platforms understand. This happens in real-time, so your audience sees your content with minimal delay.
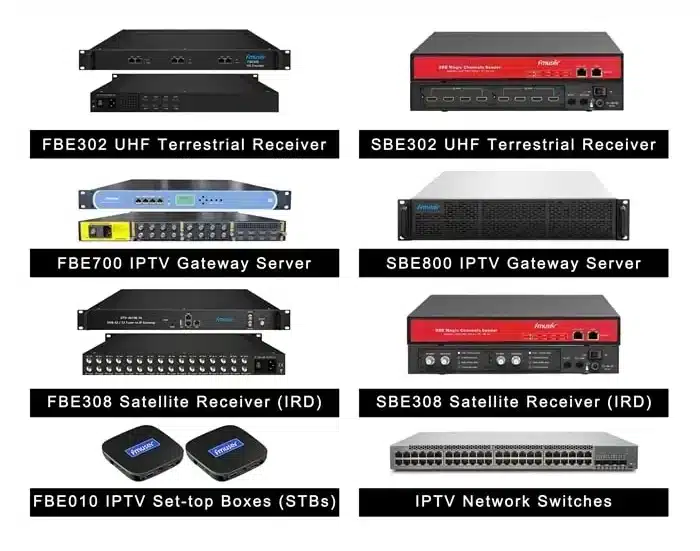
You’ll find two main types of encoders. Hardware encoders are physical devices with ports and buttons. Software encoders are programs you install on your computer. Both do the same job, just in different ways.
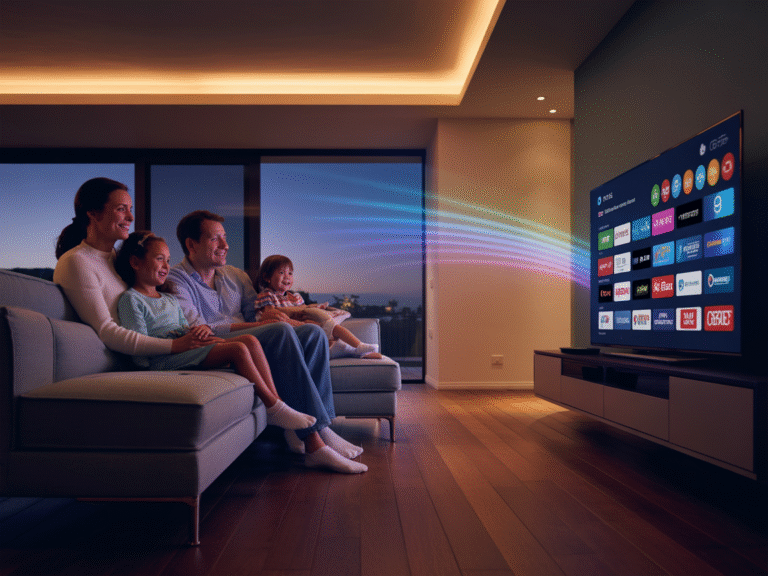
People use IPTV encoders for live streaming events, broadcasting church services, delivering online classes, and sharing corporate presentations. Businesses need them to reach wider audiences, while content creators use them to grow their channels. If you want to stream professionally, an encoder is essential.
Types of IPTV Encoders You Should Know
Hardware IPTV Encoders
Hardware encoders are standalone devices that handle everything independently. An IPTV encoder HDMI device connects directly to your video source through an HDMI cable. Just plug in your camera, connect to your network, and you’re ready to stream.
These devices offer reliable performance because they’re built specifically for encoding. You won’t worry about your computer crashing during an important stream. They’re perfect for professional setups like studios, conference rooms, and houses of worship.
Software IPTV Encoders
Software encoders require an IPTV encoder download and installation on your computer. Popular options include OBS Studio, vMix, and Wirecast. These programs turn your PC or Mac into a powerful streaming station.
The biggest advantage? Flexibility. You can add graphics, switch between multiple cameras, and customize everything on screen. Software encoders cost less upfront since many are free or have affordable licenses. However, you’ll need a decent computer to handle the processing load.
Step 1: Choose the Right IPTV Encoder for Your Needs
Before buying anything, think about what you’re streaming. Are you broadcasting a single camera or multiple sources? Do you need graphics and overlays? Your answers will guide your choice.
Budget matters too. Software encoders can start at zero dollars with free programs. Hardware IPTV encoder HDMI devices range from $200 for basic models to several thousand for professional units.
Look for these features when comparing options:
- Resolution support (1080p minimum, 4K if needed)
- Bitrate flexibility for different internet speeds
- Protocol support (RTMP for most platforms, HLS for apps)
- Number of inputs for cameras and microphones
For beginners on a budget, start with free software like OBS Studio. If you need reliability for regular broadcasts, invest in a hardware encoder. Churches and businesses often prefer hardware because it’s simpler to operate.
Step 2: Download or Connect Your IPTV Encoder
For Software Encoders
Ready for your 📡 IPTV плейлист encoder download? Visit the official website of your chosen software. Never download from third-party sites to avoid malware.
Check your computer specs first. Most encoders need:
- At least 8GB of RAM
- A modern processor (Intel i5 or equivalent)
- Decent graphics card for smooth performance
Download the installer, run it, and follow the on-screen instructions. Most programs install in under 5 minutes. Once done, open the software and you’ll see your blank canvas ready for setup.
For Hardware Encoders
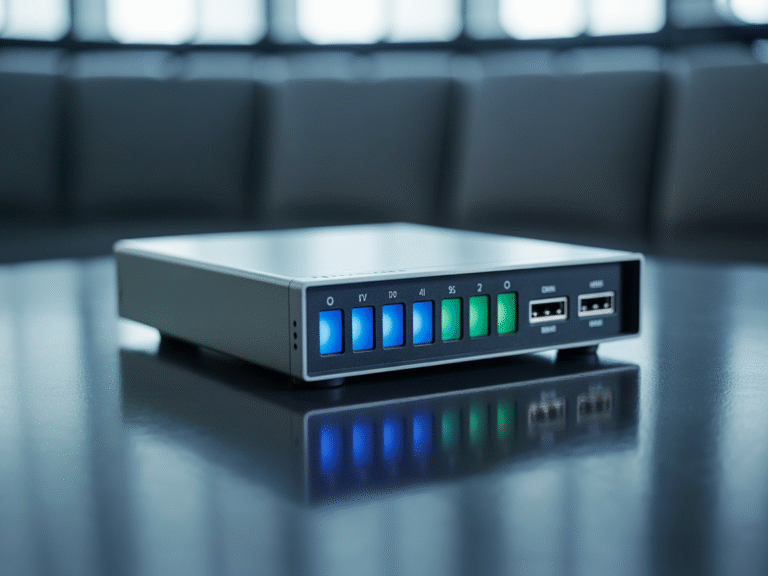
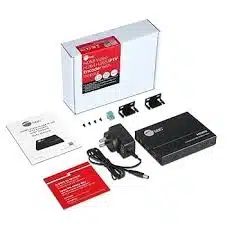
Unbox your IPTV encoder HDMI device carefully. You’ll find the encoder unit, power adapter, and sometimes an antenna for wireless connectivity.
Connect the power supply first and watch for indicator lights. Most encoders show a power light and network status. Place your encoder near your router for the best connection, or use an ethernet cable for rock-solid reliability.
Don’t turn it on yet. Make sure all connections are secure before powering up. Check that ventilation slots aren’t blocked since encoders can get warm during operation.
Step 3: Configure Your HDMI Input Settings
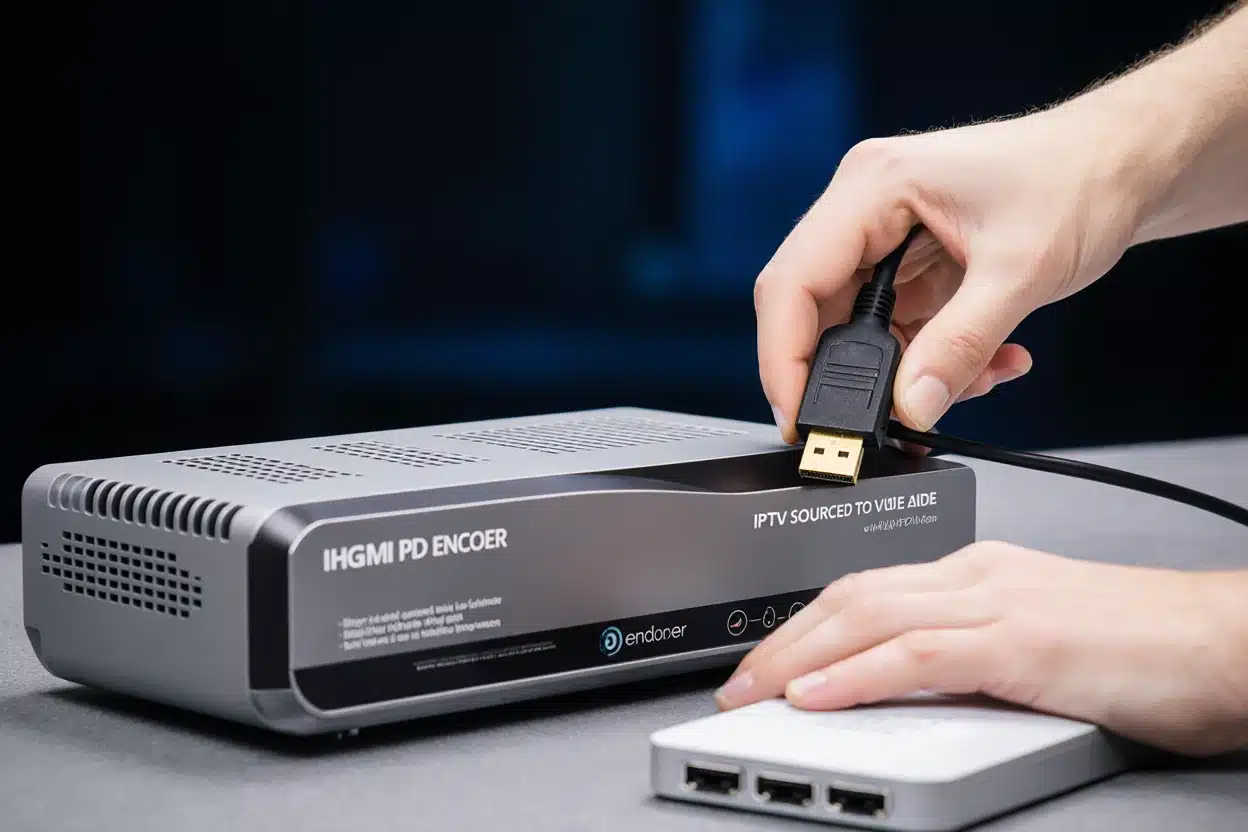
Time to connect your video source. Grab an HDMI cable and plug one end into your camera, computer, or video player. Connect the other end to the IPTV encoder HDMI input port.
Access your encoder’s settings through its web interface or software menu. Look for input configuration options. Select the resolution that matches your source. If your camera outputs 1080p, set your encoder to 1080p. Mismatched settings cause black screens or poor quality.
Frame rate matters for smooth motion. Use 30fps for most content or 60fps for sports and gaming. Higher frame rates need more bandwidth, so choose wisely.
Don’t forget audio! Select your audio input source, whether it’s embedded in HDMI or a separate microphone connection. Test everything by checking the preview window. You should see your video and hear your audio clearly.
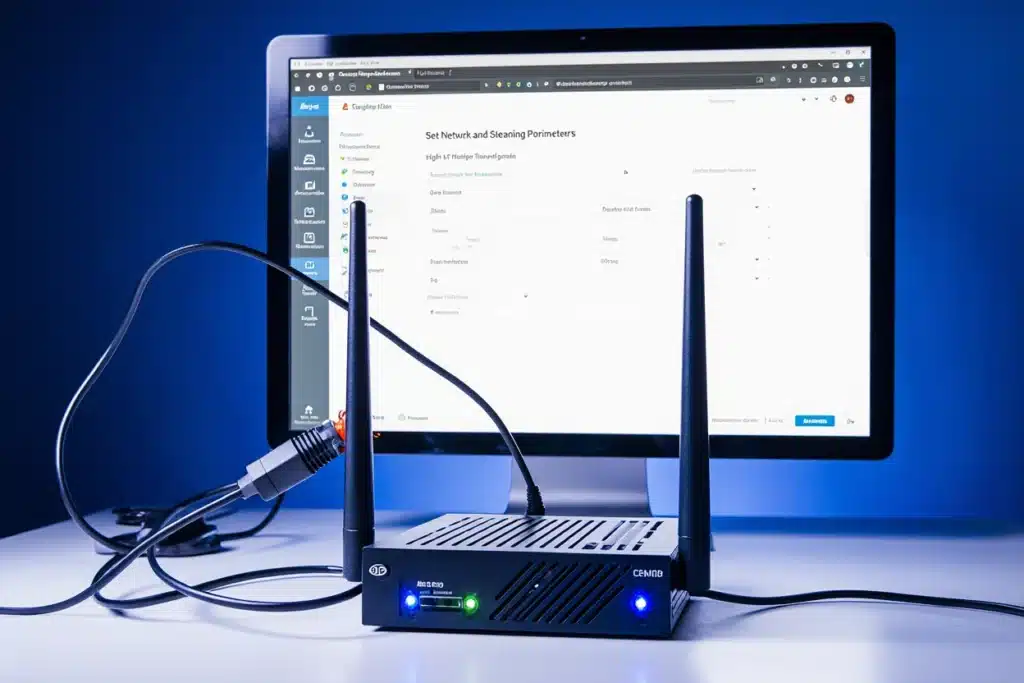
Step 4: Set Up Network and Streaming Parameters
Connect your IPTV encoder to your network via ethernet cable or WiFi. Ethernet is always better for streaming because it’s more stable.
Access the network settings and set up your IP address. Most encoders use DHCP automatically, but you can assign a static IP for consistency. Write down this IP address since you’ll need it to access your encoder later.
Choose your streaming protocol based on where you’re streaming:
- RTMP for YouTube, Facebook, Twitch
- HLS for mobile apps and websites
- UDP for local network streaming
Set your bitrate according to your internet upload speed. A good rule: use 50-70% of your upload speed. For 1080p streaming, aim for 4000-6000 kbps. Lower quality needs less bandwidth.
Enter your streaming destination URL from your platform. YouTube and Facebook provide this in their streaming settings. Copy it exactly—one wrong character and your stream won’t connect.
Step 5: Test and Optimize Your IPTV Stream
Hit that stream button and watch your content go live! Don’t panic if it takes a few seconds to connect. Start with a private test stream to check everything without your audience watching.
Watch your stream on a different device. Does the video look sharp? Is the audio clear and synchronized with the video? Check on both WiFi and mobile data to see how it performs on different connections.
Monitor your encoder’s performance indicators. Look for dropped frames, CPU usage, and network stability. If you see problems, reduce your bitrate or resolution slightly.
Fine-tune your settings based on what you see. Too blurry? Increase bitrate. Choppy playback? Lower your resolution. Streaming is about finding the sweet spot between quality and reliability.
Best Practices for IPTV Encoder Setup
Your internet connection makes or breaks your stream. You need upload speed, not download. Test your speed at speedtest.net and make sure you have at least 10 Mbps upload for quality 1080p streaming.
Allocate enough bandwidth by closing other internet-heavy applications. No downloading files or streaming Netflix while broadcasting. Every bit of upload speed counts.
Protect your stream with strong passwords on your encoder. Change default login credentials immediately. Use HTTPS streaming when available to encrypt your content.
Keep your firmware updated on hardware encoders and software current on computer-based setups. Updates fix bugs and add new features. Check monthly for new versions.
Save your configuration settings as a backup file. If something goes wrong, you can restore everything quickly instead of reconfiguring from scratch.
Troubleshooting Common IPTV Encoder Issues
No video signal showing? Check your HDMI cable connections first. Try a different cable since they do fail. Make sure your source device is powered on and outputting video.
Poor streaming quality usually means insufficient bandwidth. Lower your bitrate or resolution. Check if others in your building are using the internet heavily.
Connection drops happen when networks are unstable. Switch from WiFi to ethernet. Restart your router and encoder. Contact your internet provider if drops continue.
Audio out of sync? This often relates to processing delays. Adjust your audio delay settings in your encoder. Start with 100ms delays and adjust until lips match words.
Can’t find safe IPTV encoder download sources? Stick to official websites only. Check for HTTPS in the URL. Read reviews before downloading anything new.
Top IPTV Encoder Recommendations
For hardware, the Teradek VidiU Go offers excellent quality for $700. Budget-friendly options like the Magewell Ultra Encode HDMI start around $400. Professional studios love Haivision Makito X for its reliability at $2000+.
Software options shine for versatility. OBS Studio is completely free and powerful. vMix starts at $60 with advanced features. Wirecast offers professional tools from $600.
Compare these factors: price, ease of use, reliability, features, and support. Read user reviews on platforms like Amazon and B&H Photo. What works for a church might not suit a sports broadcaster.
Advanced Tips for Professional Streaming
Multi-bitrate streaming sends multiple quality versions simultaneously. Viewers with slower internet get lower quality automatically while fast connections enjoy HD. This requires more powerful encoders but dramatically improves viewer experience.
Integrate with a CDN (Content Delivery Network) to reach global audiences. CDNs distribute your stream across multiple servers worldwide, reducing latency for international viewers.
Set up redundancy by using two encoders simultaneously. If one fails, the backup takes over instantly. Professional broadcasters never risk going dark during important events.
Use analytics tools to monitor viewer counts, buffering rates, and popular content. This data helps you optimize future streams and grow your audience.
Conclusion
You’ve learned the 5 essential steps to set up your IPTV encoder: choose the right encoder, download or connect it, configure HDMI inputs, set up network parameters, and test your stream. Modern encoders are easier to use than ever before, whether you choose an IPTV encoder HDMI device or prefer an IPTV encoder download for software.
Don’t wait to start streaming. Pick an encoder that fits your needs and budget. Begin with simple streams and build your skills over time. Every professional streamer started exactly where you are now.
Ready to go live? Download free software like OBS today or invest in reliable hardware for consistent broadcasts. Have questions? Drop them in the comments below—we love helping new streamers succeed!
FAQs
What is the difference between hardware and software IPTV encoders? Hardware encoders are physical devices that work independently, while software encoders are programs running on your computer. Hardware offers better reliability, but software provides more flexibility and customization options.
Can I use any HDMI source with an IPTV encoder HDMI device? Most HDMI sources work perfectly, including cameras, computers, gaming consoles, and media players. Just make sure your encoder supports the resolution and frame rate your source outputs.
Where can I safely download IPTV encoder software? Always download from official websites only. For OBS Studio, visit obsproject.com. For vMix, use vmix.com. Never download from file-sharing sites or suspicious links.
How much bandwidth do I need for streaming? For 720p streaming, you need at least 3-4 Mbps upload speed. For 1080p, aim for 5-8 Mbps. Always have extra bandwidth beyond your bitrate for network fluctuations.
What video formats do IPTV encoders support? Most encoders support H.264 (most common), H.265/HEVC (newer, better compression), and various streaming protocols like RTMP, HLS, and RTSP. Check your specific encoder’s documentation for complete format lists.
Do I need technical skills to set up an IPTV encoder? Basic computer skills are helpful, but modern encoders are designed for beginners. If you can connect an HDMI cable and follow simple instructions, you can set up an encoder successfully. This guide walks you through everything step-by-step!